
How to Replace the Bicycle Tube Valve?
2024-08-24
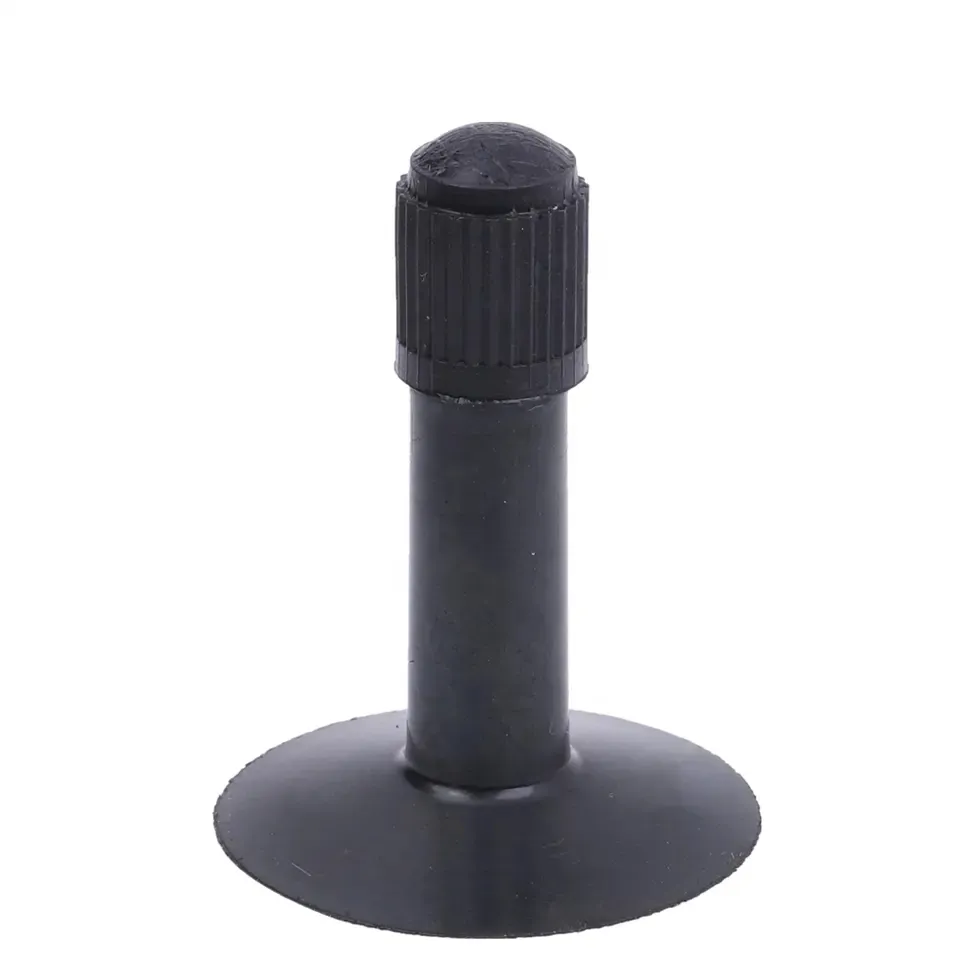
Replacing the bicycle tube valve is a relatively simple process, but some details still need to be paid attention to to ensure the smooth replacement and normal use of the valve.
1. Preparation
Tool preparation: prepare valve core wrench, new valve, ring screw, lubricating oil and other tools.
Check the inner tube: Before replacement, check whether the inner tube is damaged or aged. If necessary, replace it together.
2. Remove the old valve
Loosen the ring screw: First, use a valve core wrench or needle-nosed pliers to gently loosen the ring screw on the valve.
Pull out the valve core: After the ring screw is loosened, you can try to pull out the valve core directly. If the valve core is tight, you can shake it left and right a few times, or use a special extraction tool to assist in pulling it out.
3. Install the new valve
Install the valve core rubber band: If you only replace the valve core rubber band, put the new valve core rubber band on the valve. Make sure the rubber band is installed flat without twisting or folding.
Tighten the ring screw: After installing the valve core rubber band, use a valve core wrench or needle-nosed pliers to tighten the ring screw to fix the valve core. Be careful not to tighten it too much to avoid damaging the valve or inner tube.
4. Inspection and debugging
Check the sealing: After installing the new valve, check whether the contact surface between the valve and the inner tube is well sealed. You can gently press around the valve to observe whether there is any leakage.
Debug the air pressure: Use an air pump to inflate the inner tube to the appropriate air pressure. Pay attention to observe whether the valve is leaking during the inflation process.